


Today is the time to prepare a paper model of your house and consider which elements a house should include. Are you ready? 🙂
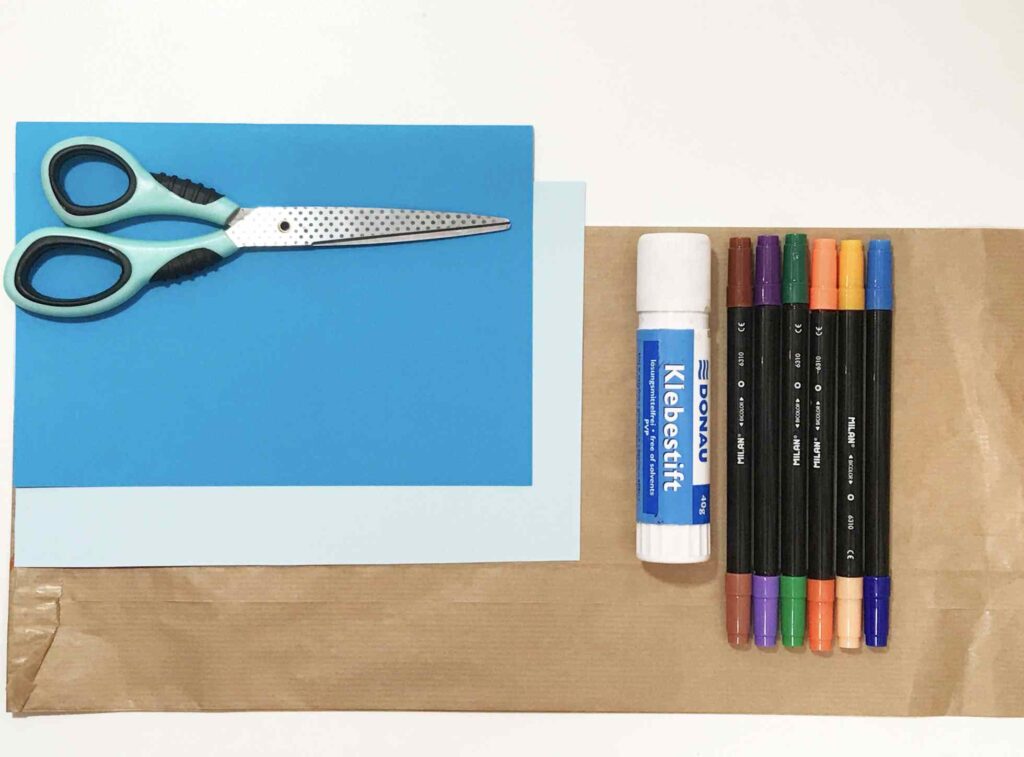
MATERIALS
- paper bag
- glue
- scissors
- markers
- coloured paper
- LED candle (optional)
Step 1
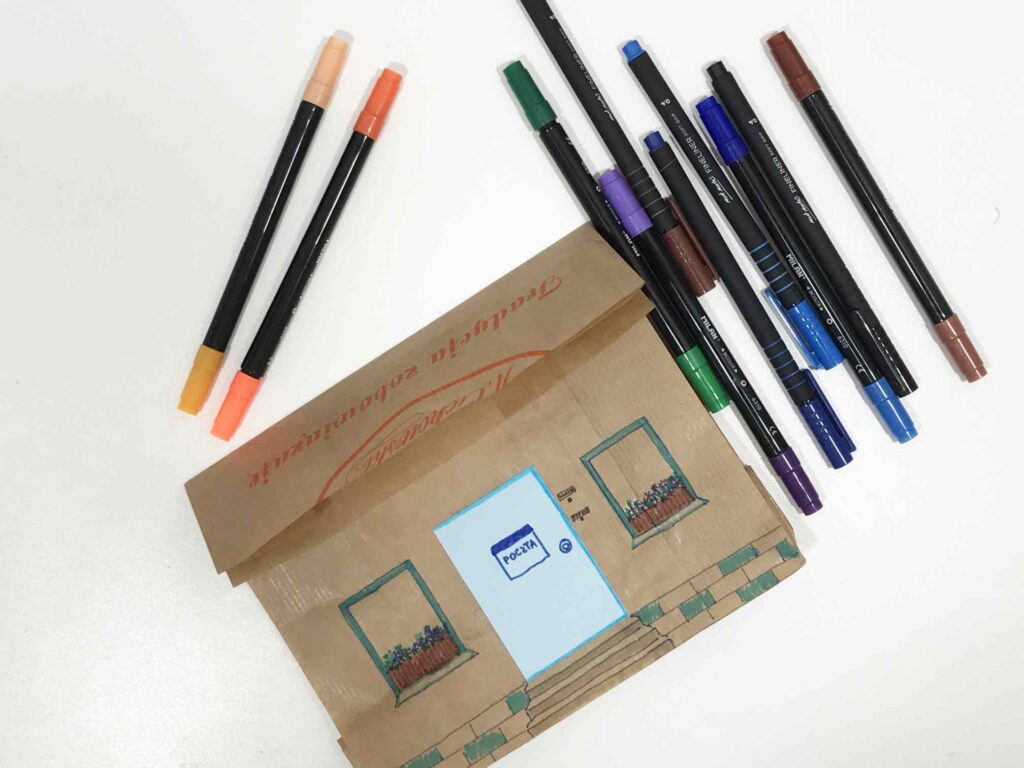
Bend the top of the paper bag, leaving 10 cm for the roof. Children take the bag and draw windows, doors and flowers on the window sills. They may also cut out these elements from coloured paper and glue them to the bag.
Step 2
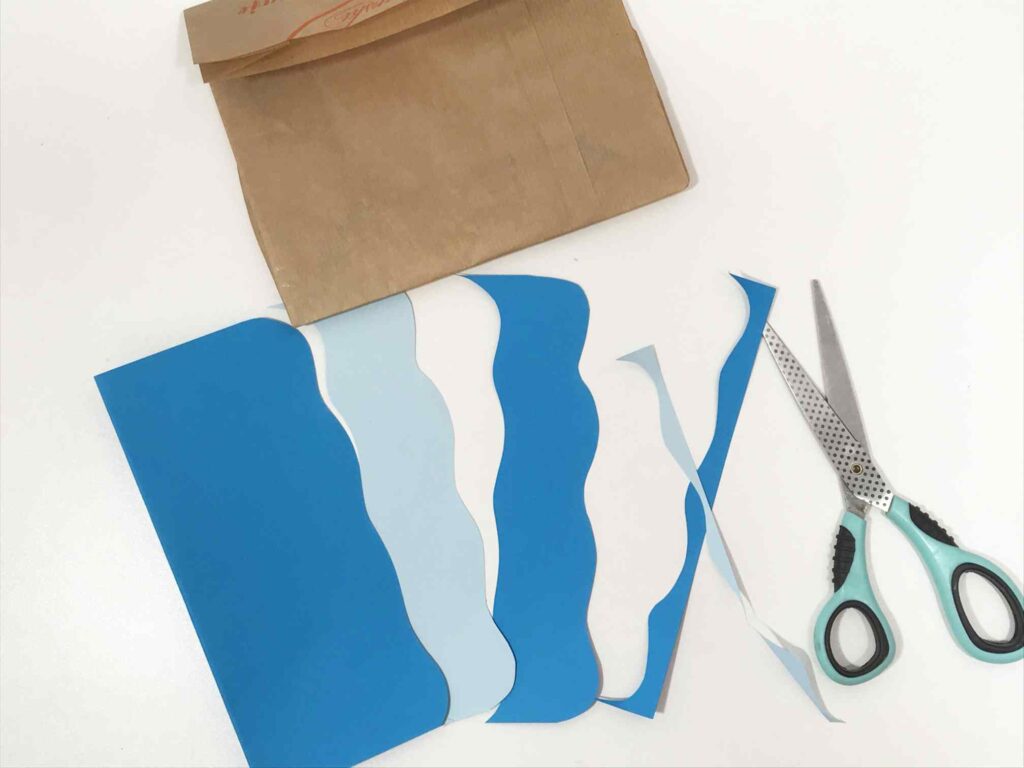
Children cut out a piece of coloured paper: 10 cm long and as wide as the paper bag. On the coloured paper they draw roof tiles (older children may cut the paper along a curved line, as shown in the picture). Then, they glue the finished roof to the bent part of the paper bag.
Step 3

If children want to use the bags as lanterns, they should not glue the roofs. Instead, they place a lit LED candle inside the decorated paper bag and fix the roof to it using a wooden paper clip that imitates a chimney. This way it will be easy to turn the candle on and off.
If you teach older children, you can also add some elements around the house: glue it to a green paper that represents the grass, trail a cycling path along it, glue some trees, flowers and other elements that will make the house more comfortable. The house is ready to move in!


Project is financed by European Union. This project is a part of global advocacy campaign of Habitat for Humanity aimed at improvement of access to land for a shelter.